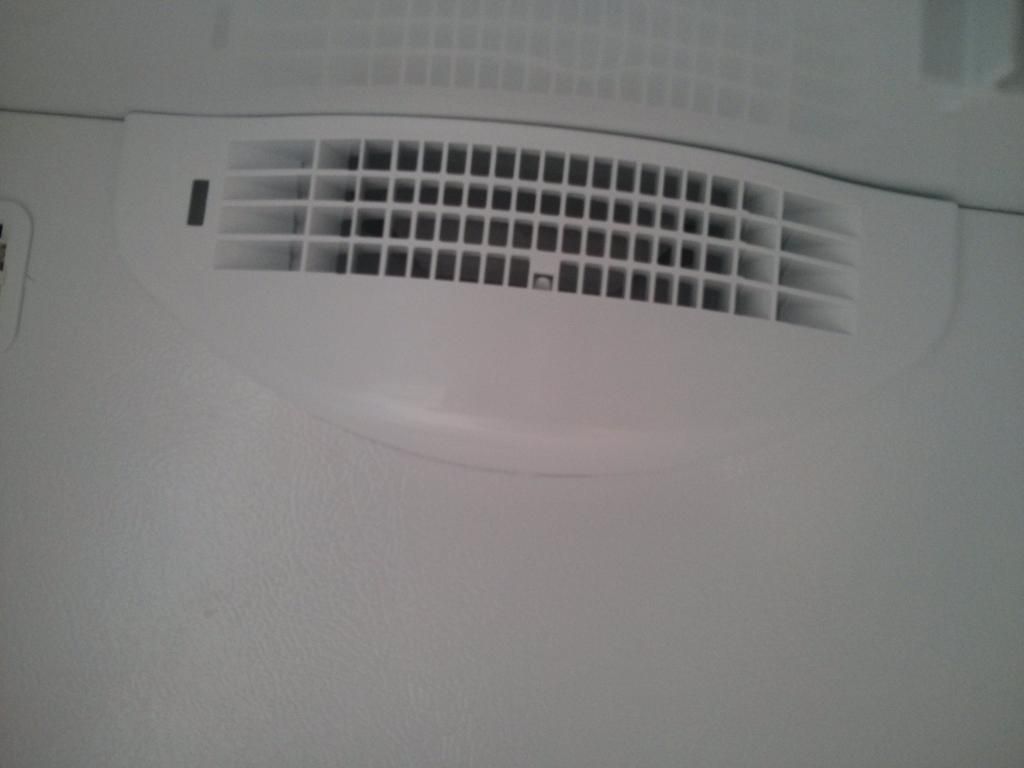
I finally got the fan cover off. I depressed the middle tab using a jewelers screwdriver then pulled the left hand side away from the back (with great trepidation) - but it popped off.
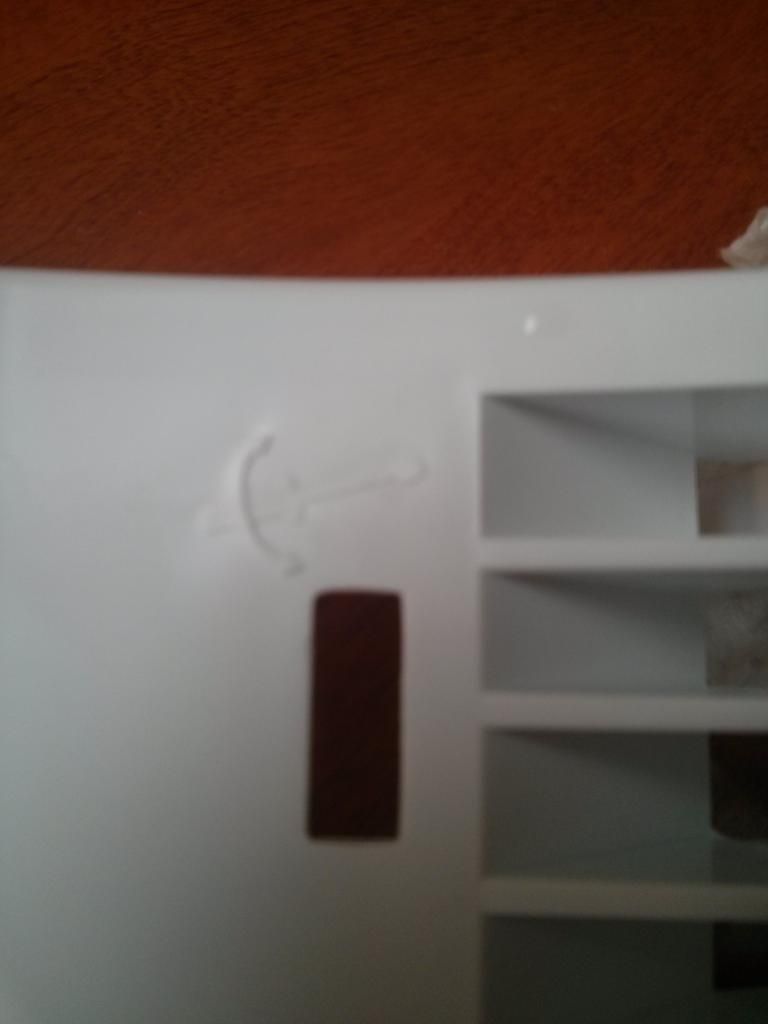
Now that I have it off I can see a symbol on it that shows a screwdriver being inserted into the left hand slot and being used to pry at the cover.
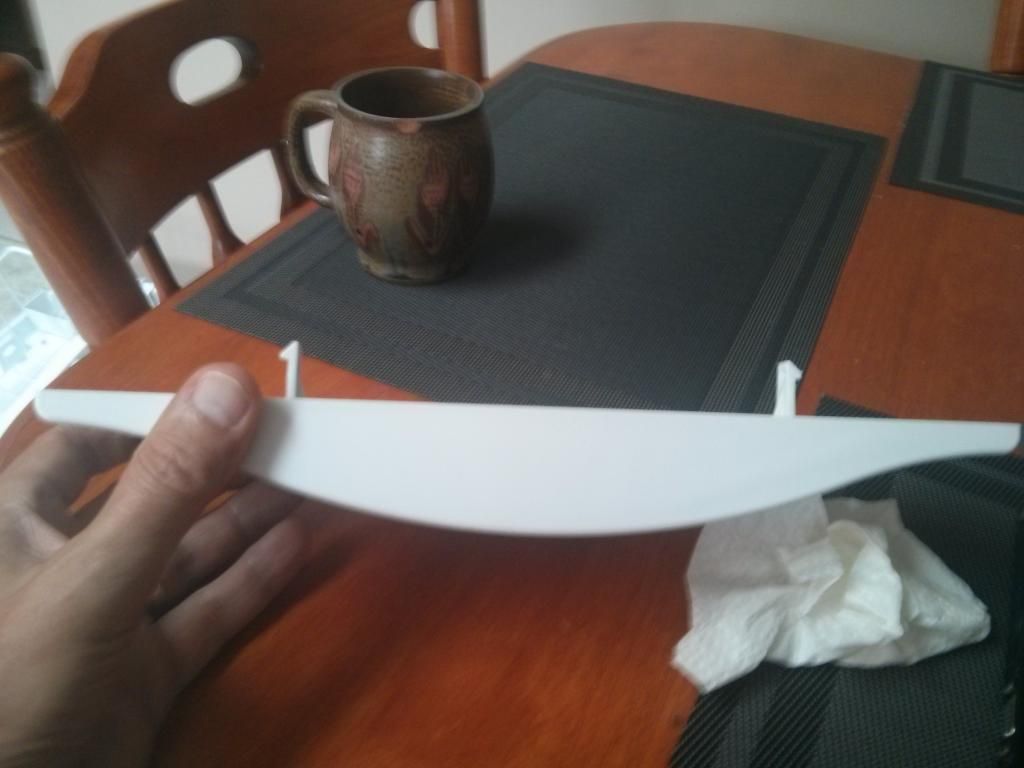
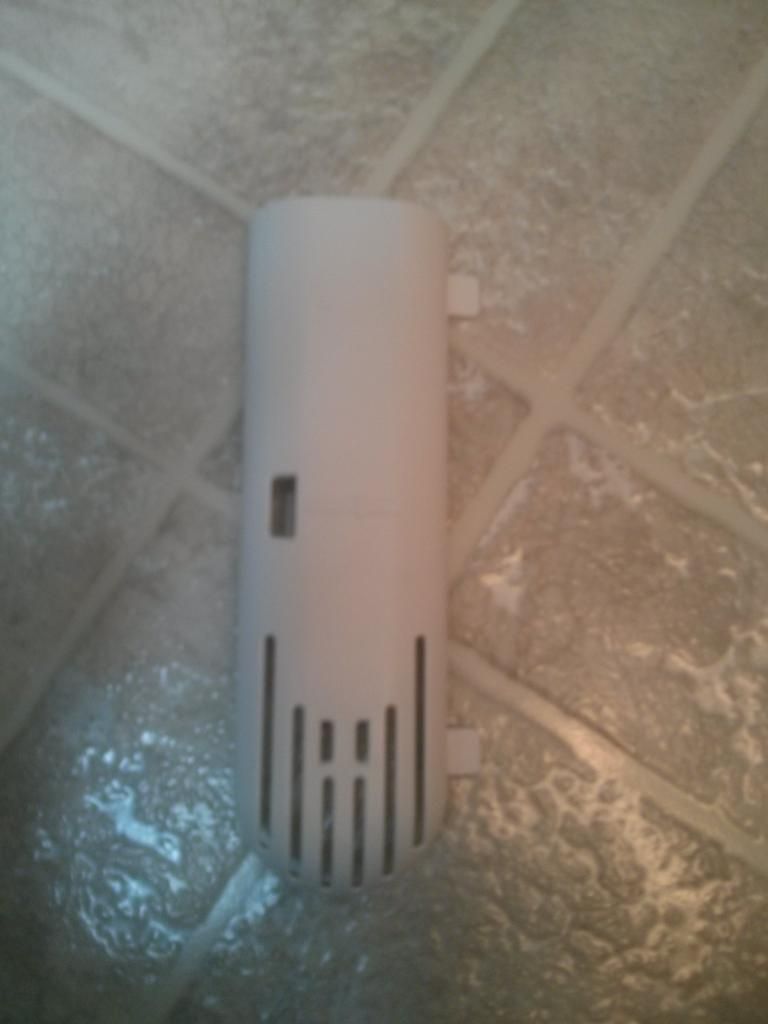
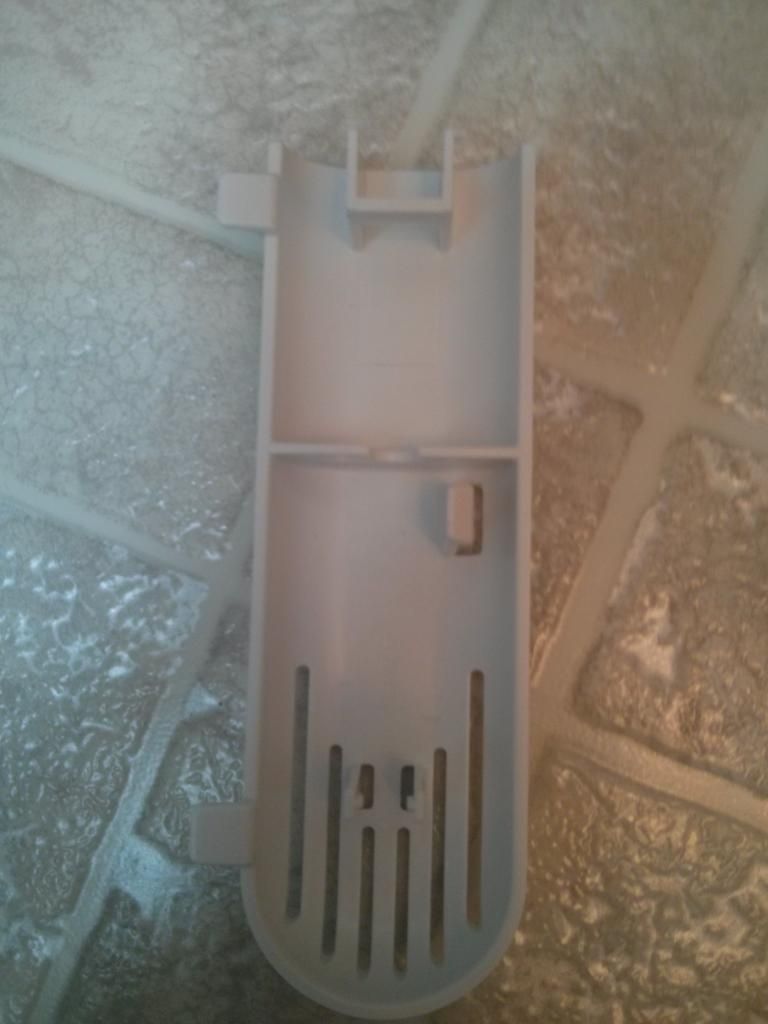
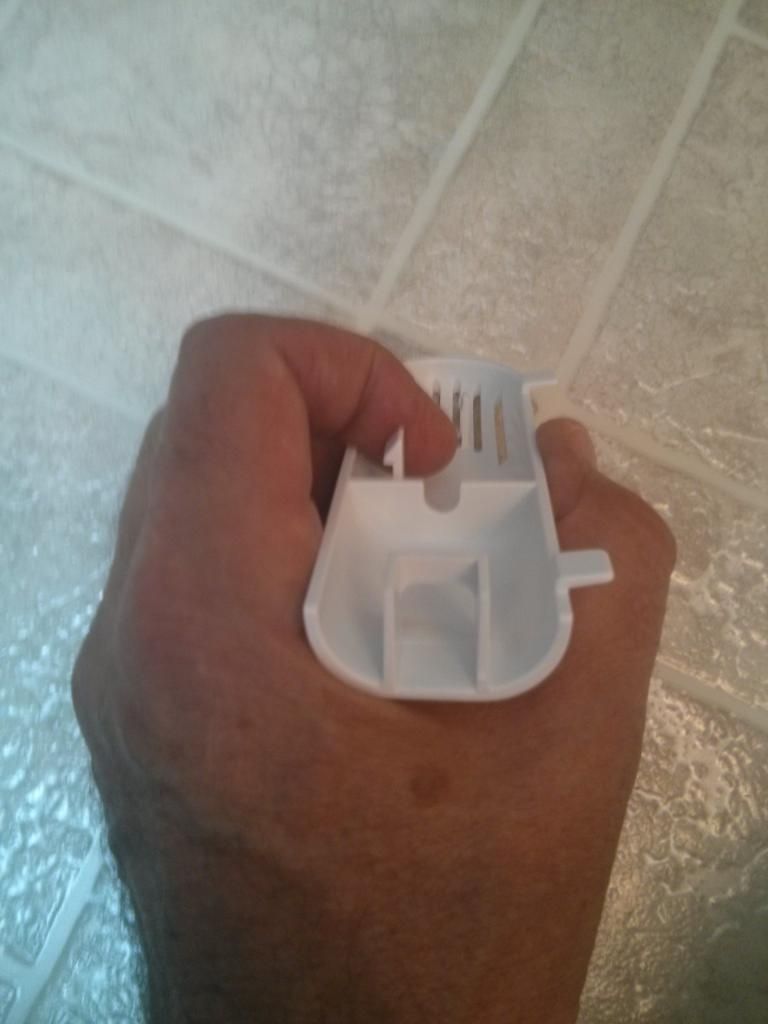
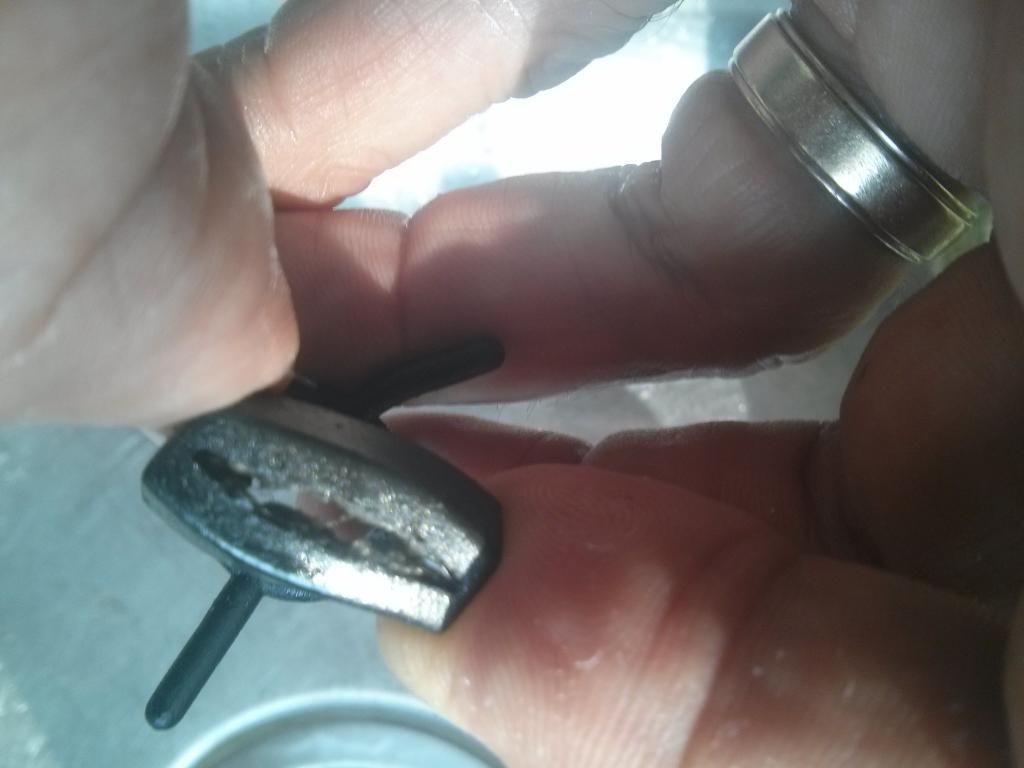
A back view of the fan cover showing 2 tabs that hold it in place.
I next removed the thermistor cover. I used a flat screwdriver - stuck in a slot on the left hand side to pry to the right and out. That slot connects to a clip that hold the left hand side of the cover on. Hint - tape the thermistor to the upper roof of the freezer compartment - that way it is easier to remove and more importantly to put the back panel on. As when you put the back panel back on you have to drape the thermistor wire over the top of the back panel.
Showing the clip on the left hand side that holds the cover on.
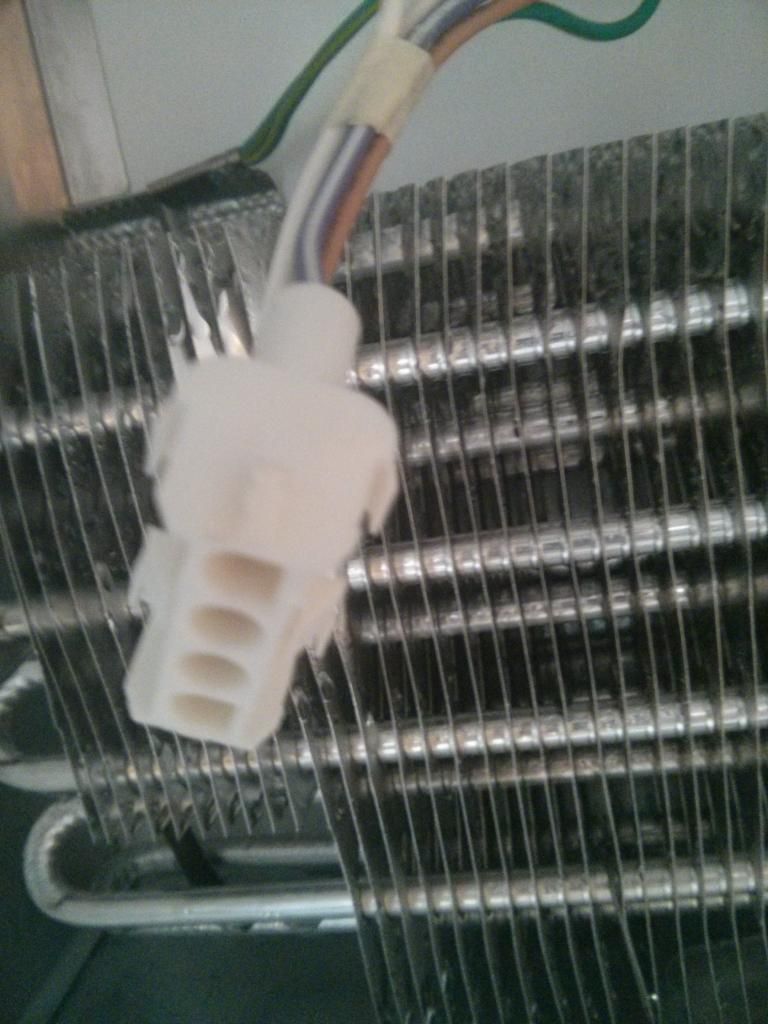
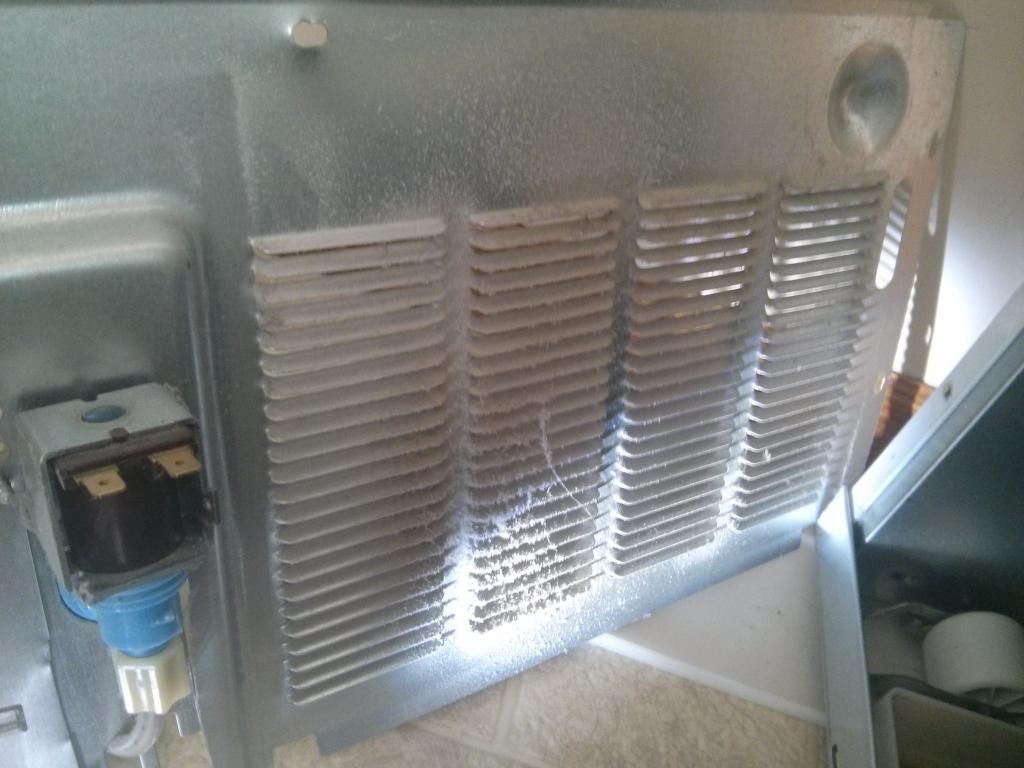
I took off the 4 screws holding the back cover on. Then I slid the ice maker fill tube out of the back cover and disconnected the plug for powering the ice maker by prying on 2 tabs on either side of the plug.
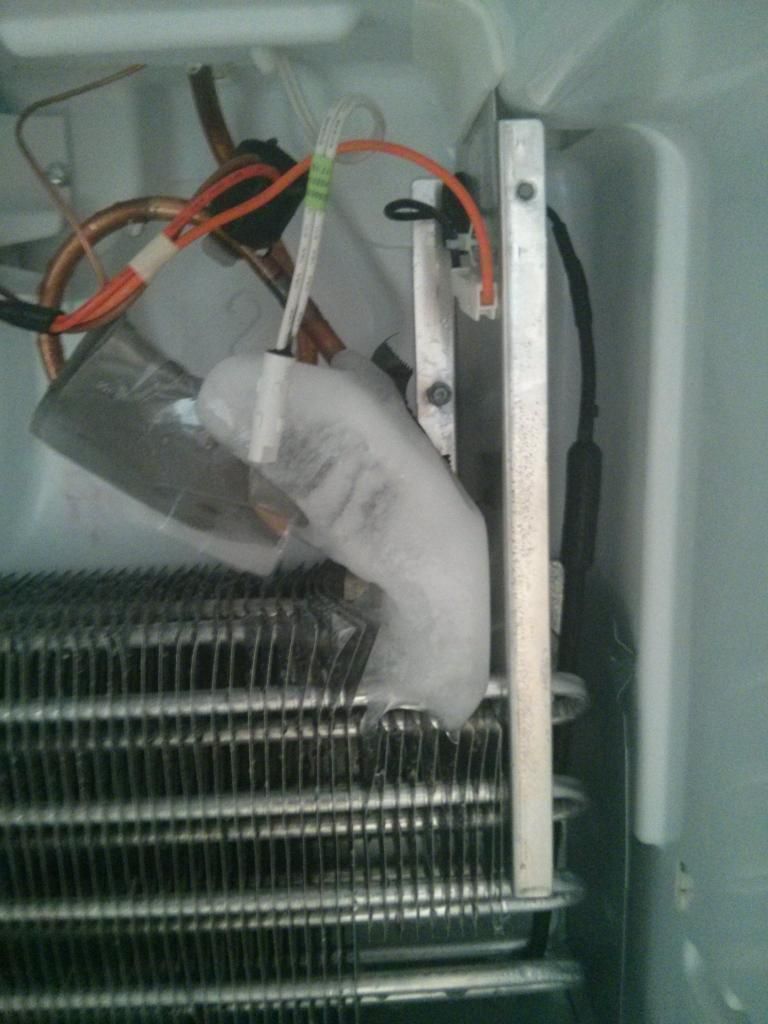
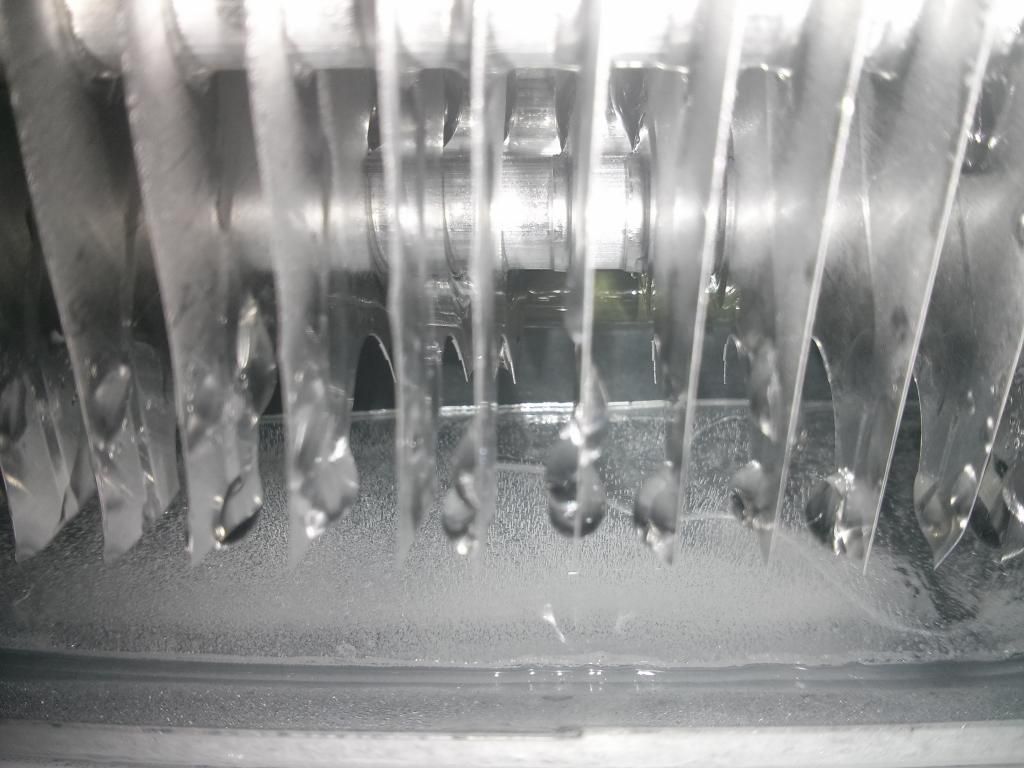
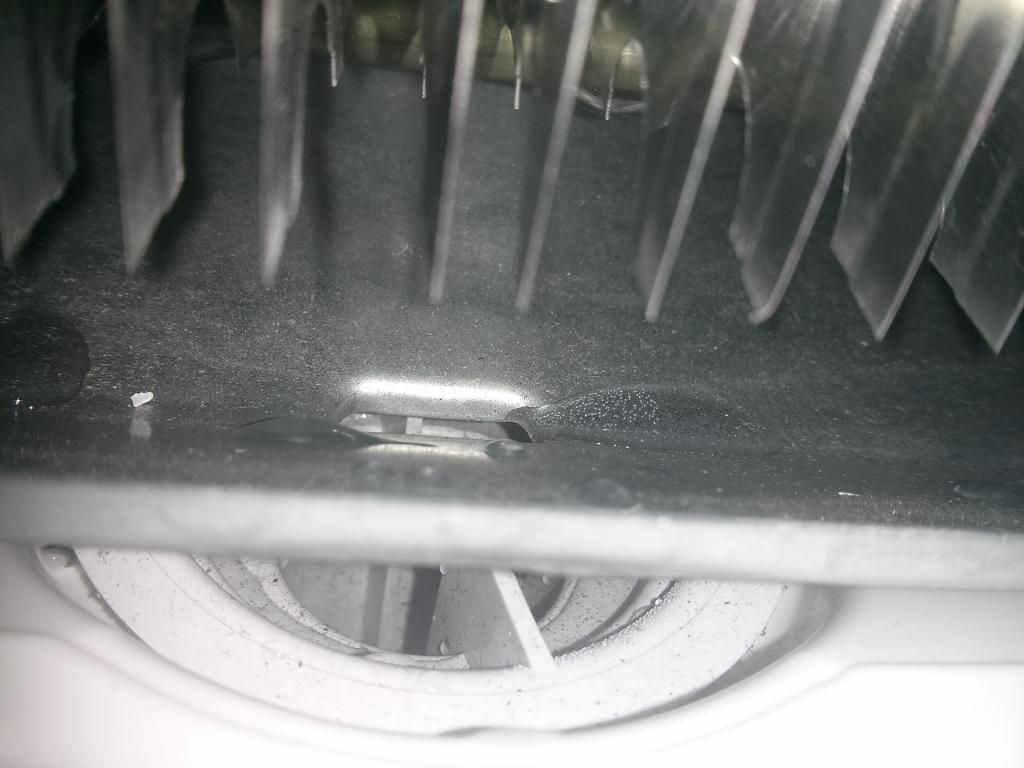
I saw ice at the top right hand corner
and in the drain tray
I will now use a hair dryer to melt the ice. More news at 11…
While it was thawing - I opened up the back cover. I had blown out the coils with an air compressor recently - but as you can see - taking off the back cover reveals more dust to clean up.
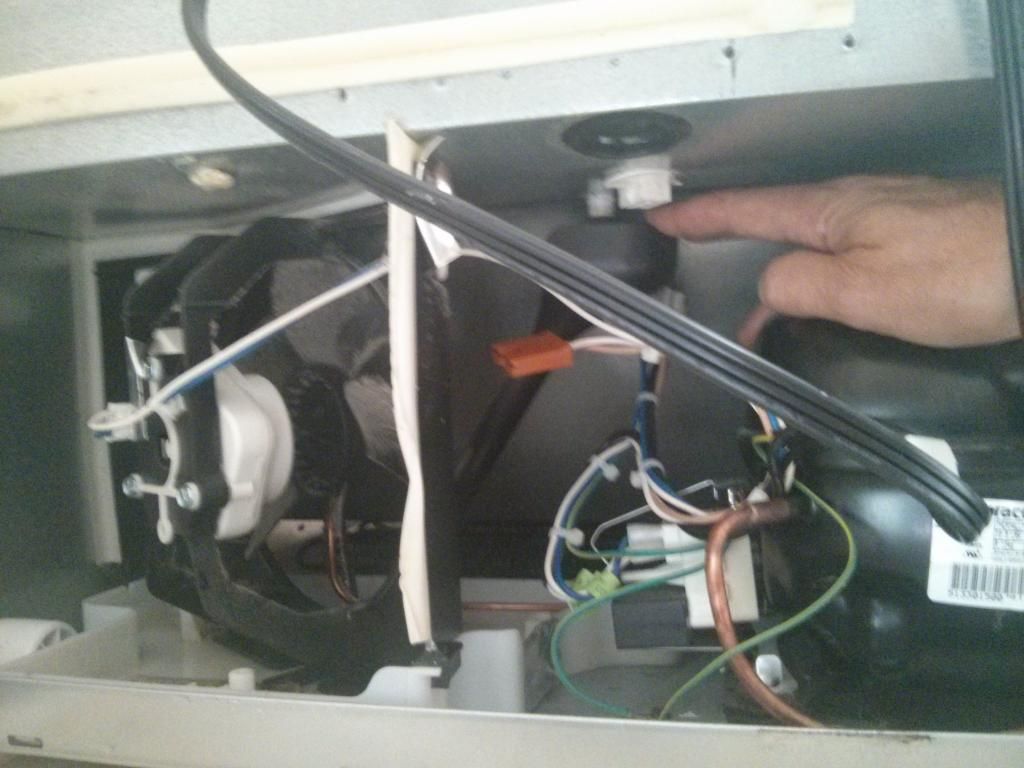
I also noticed the ‘duck bill’ drain (tech term: The Grommet) was gunked up with something akin to chewing gum. I had to use ‘goof off’ to clean it up.
This grommet prevents air infiltration but allows water to drain into the condensate drip pan (the condensate pan is a white plastic tray below the fan). This grommet is behind a plug - on the top of the back compartment - just beside the compressor. it feeds into a drip tube that feeds into the drip tray.
In this picture I am pointing to where the grommet goes. It was removed at that point to clean it.
I saw a you tube clip where a service tech was replacing this grommet with a ‘P’ trap - and he described how the ‘P’ trap eliminates the water backing up issues that this grommet causes when it cruds up. Thing is - my fridge is at 4 years (half life expectancy with the ‘energy efficient’ appliances - so I might as well just clean up the grommet as the fridge will no doubt crap out before the grommet plugs up again.
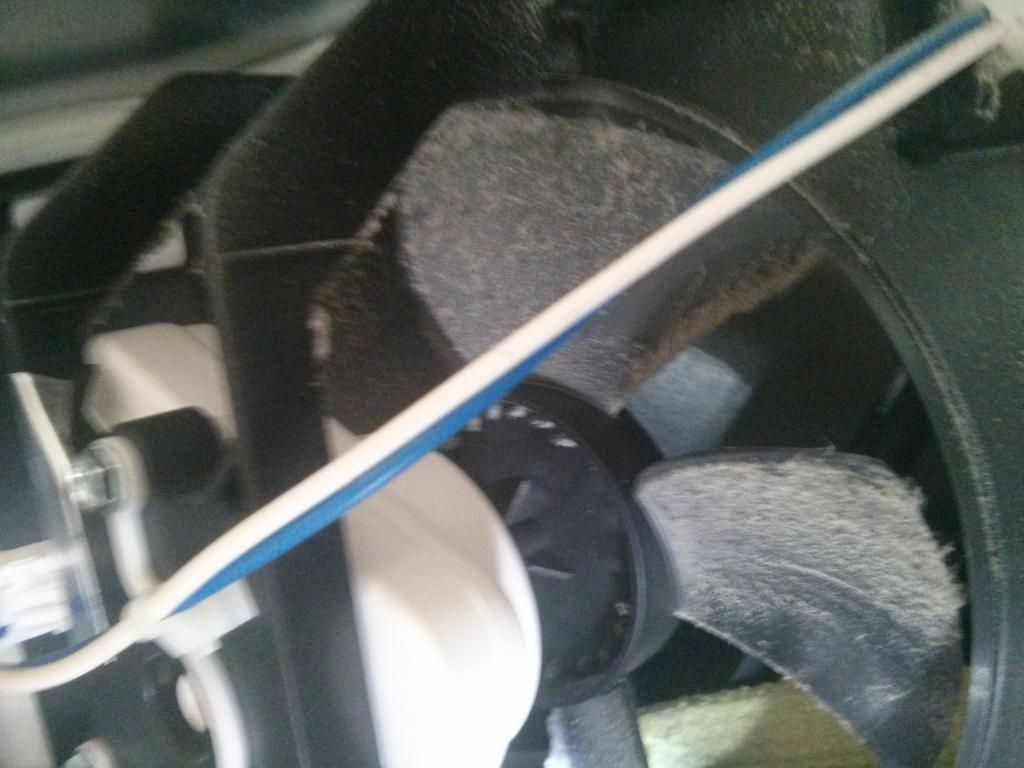
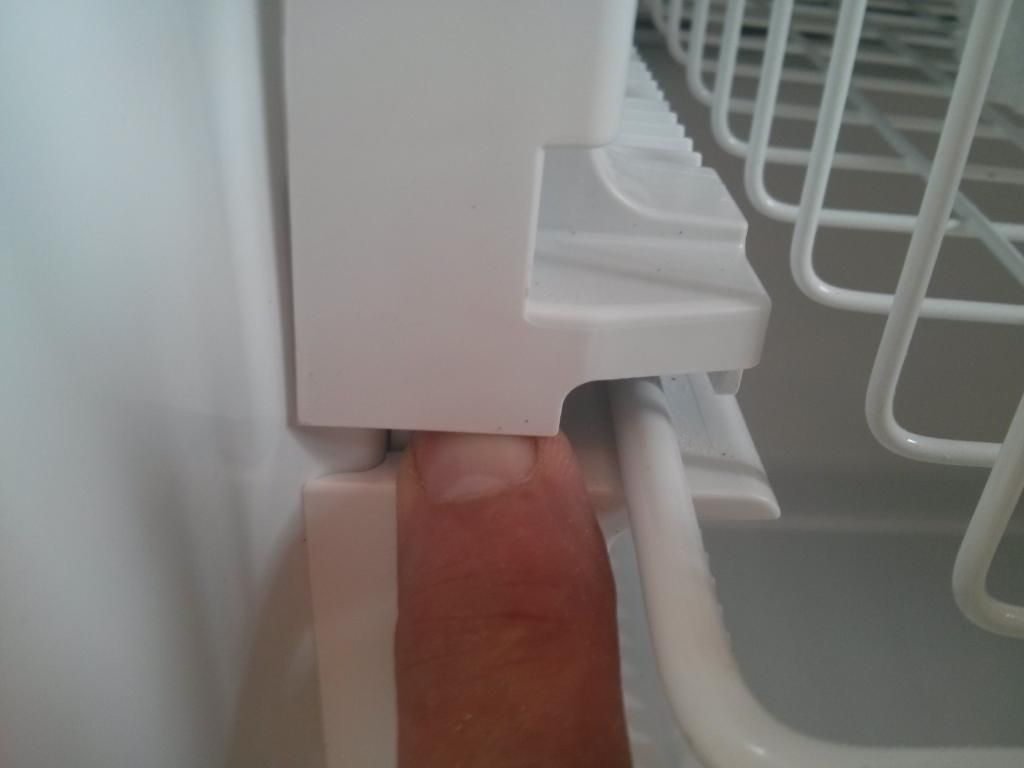
Tip on removing the upper rack. You can make it easier if you unclip the two fasteners on the square plastic thing at the inside end of the upper rack. That is fairly hard to do - and requires you to be exerting upward pressure on the square outer shell while you alternately press in the 2 clips that hold the shell on. You are done once the shell pops up 1/2" or so. Unscrew the two screws that hold the upper plastic tracks in place - then slide the upper rack out - lifting the upper tracks up to allow the rack to be removed from the fridge. Once the rack is out the upper plastic tracks can be swung toward the inside of the freezer and then pulled out easily. In the following picture I have my finger pushing up the upper track in preparation for removing the upper rack.
Here is the drain inside the freezer compartment once it is unthawed.
When you replace the ice maker - be sure the fill tube coming from the back of the fridge is going into the round ring on your ice maker. I forgot to do that and ended up with water on the bottom of the freezer.
Of course now that I have completed the repair - I watch this video: https://www.youtube.com/watch?v=VSiLmJQmzEY The guy shows the work described above. Interesting he is installing a grommet that is the same one on my fridge. He says the one that was in the fridge he is repairing is prone to clogging- and you can see in the video that the old one he is changing out is smaller than the current one like I have.
Trouble is - even the current Grommet I have clogs up - which is why I suppose they went to a ‘p’ trap design. you know - the same drain design that has been used in plumbing for hundreds of years.
Total time it took for my first attempt at this repair: 4.5 hours. I could likely do the same repair again in 2 hours and if I did it frequently - 1 hour…
I have the same problem with my fridge, which was purchased new on 5-1-12. Now has big slab of ice in bottom of freezer and leaks water onto floor. I have to take the layer of ice out every 2 days. I would never buy another Amana product. Clearly they should have had a recall, or offered free repair of this design problem. I wish I would have hung onto the older Whirlpool fridge that was in the house when I bought it. I just didn’t want the ice maker, the cold water, etc. that was on it.
Same problem. Thawed out and cleared drain for second time, Then I turned the temp. setting for the freezer down to 1 and the upper refer to 2. No problems since then. I keep a thermometer in freezer and it stays below 20 deg F. I live in the pacific NW if that makes a difference.
I just repaired my Amana bottom freezer that was forming sheets of ice due to the drain being clogged. I removed baskets and freezer door then after melting and removing the sheets of ice, I used a turkey gravy squezeer to pour hot water in between the back little vents on the back of the freezer, then take a hair blower and blow hot air in between vent grooves until you hear a popping sound which means the drain has defrosted and ice has melted from surroundings!! Good luck!!